Movie Poster Project
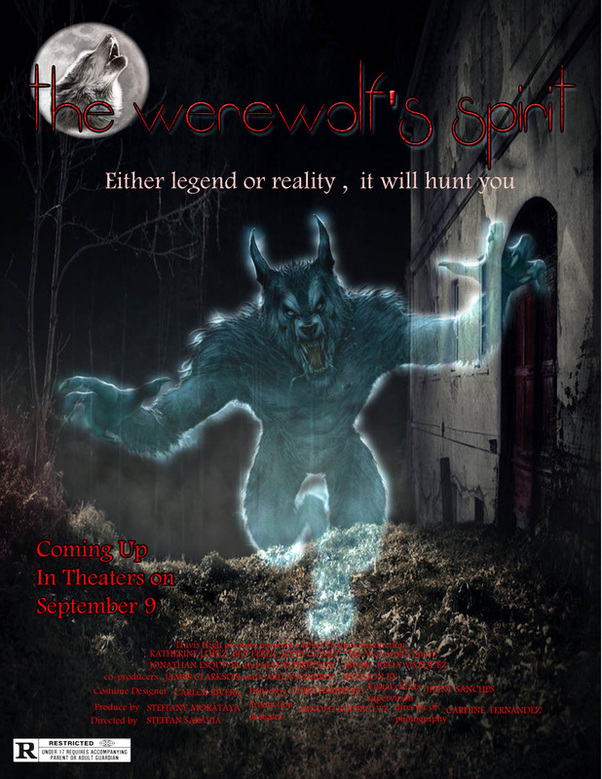
In this project I learned the specific structure of a movie poster. To make my movie poster I first open a new document and put my background, then I looked for the werewolf image and then I used the clone tool to clone the whole werewolf, and then I used the blending mode to give my werewolf a ghost look. Then used the elliptical marque tool to paste my moon, and then I use the quick selection tool to paste the wolf and I placed it on top of the moon and then I used the blending modes. Then I used the text tool to write the text and I putted some effect to all of them.
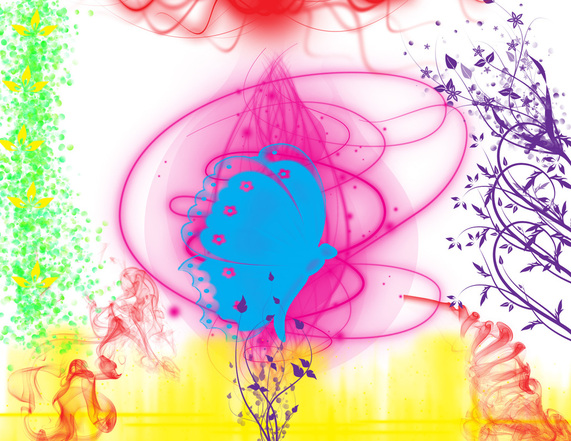
pun image project
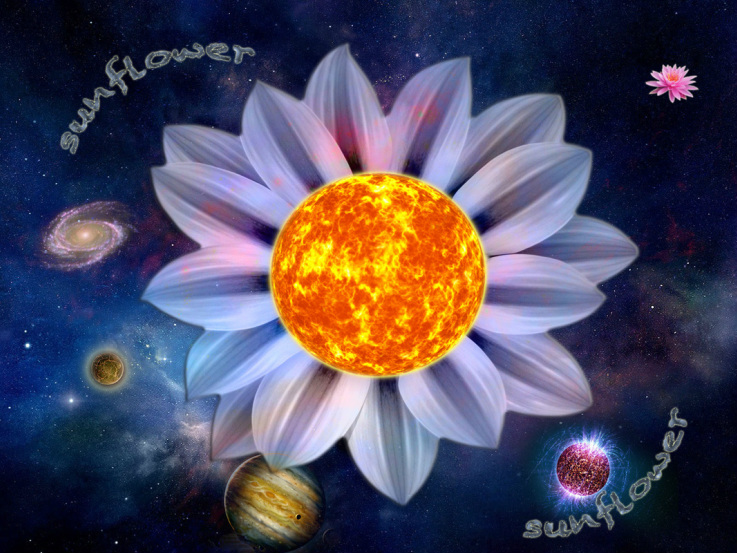
In this project I learned how to use the clone stamp tool, the spot healing brush tool and the healing brush tool. I also learned how to adjust my images so it would look more realistic. I looked for my background first then I paste my sun and petals, and I moved so they would overlap. Then i used the text tool to put the name of my pun image and then i used the clone stamp tool to clone the planets and I used the blending mode to make them fit in my background and I put cut the flower using the quick selection tool and then I pasted on my background and I added to it outer glow. I learned what a pun image is and I learned more about the blending mode.
Thanksgiving Theme Project
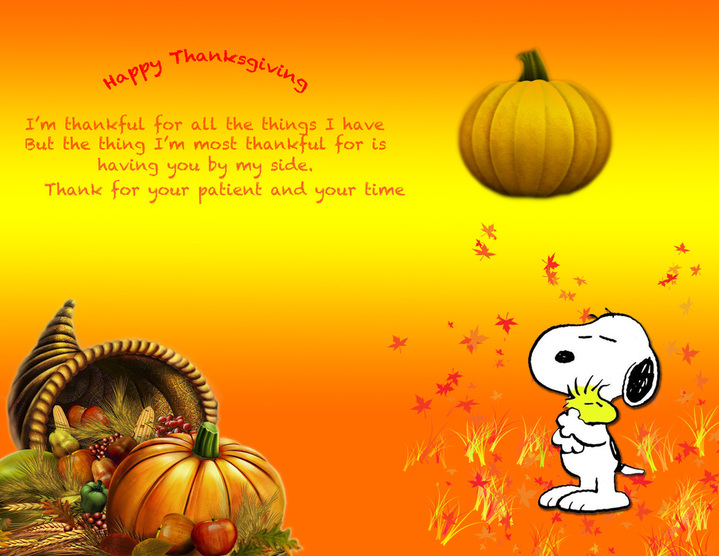
To make this project I first put a new layer and then I used the gradient tool to put the background that my image has. Then I used the text tool to put the text that's in my image, and then I used the quick selection tool to select the image that is the left corner and then I refined the edges and pasted. I did the same process with the image of snoopy. Then I used the brush tool to put the things that are around snoopy. Then I did the same process that I did with snoopy to put the pumpkin on the top and finally I used the blending mode to give my pumpkin a unique look.
gradients and silhouettes projects


In this project I learned how to manipulate photos by using the gradient tool to put the effects. On the first three pictures I first open my photos then I went to image, adjustments and threshold, and I made my image black and white. After that, I used the magic wand tool and I delated all the white areas and I created a new layer and I moved the layer below my background layer. Then I use the gradient tool to choose the gradient effect and then I made a line through the photo so my gradient would appear and the final result are the three first pictures above. The last to photos I searched a photo and then I opened after that I create a new layer above my background layer and I use the gradient tool to put the effect and then I went to the normal bar that it is below the layer menu and I chose different kinds of blending to blend my gradient effect with my photo. I learned how to use the gradient tool and I learned how to manipulate the tool to changes color and the direction of the color and how to make the colors to last longer.
magazine cover
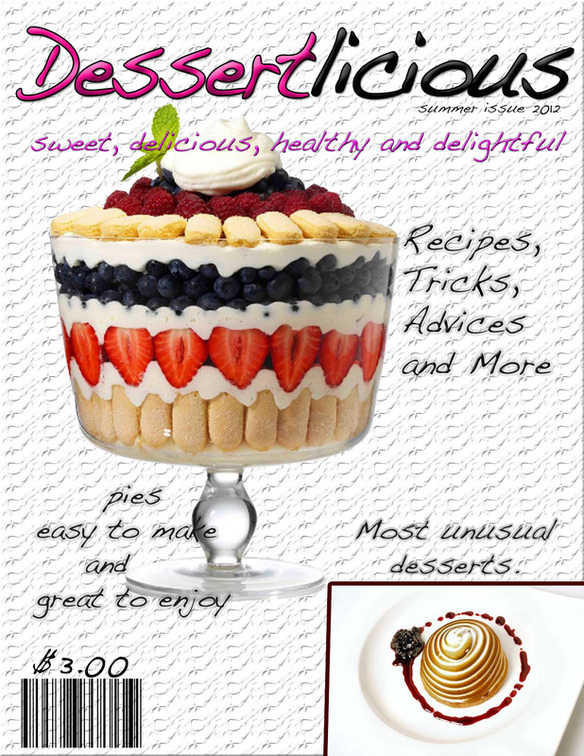
In this project I learned how to make a magazine cover by using the text tool and putting the dessert as background and adding texture to the background and then adding several characteristic to make my texts stand out and I put text related to my magazine subject to make it realistic. I putted a picture of another dessert on the corner to show some of the things the magazine would have. I also use different types of fonts, size and colors to make my magazine look more realistic. I learned how to use the bar code bar and besides of learning how to use certain kind of tools, I could learn the specific structure of a magazine cover.
typography project 2
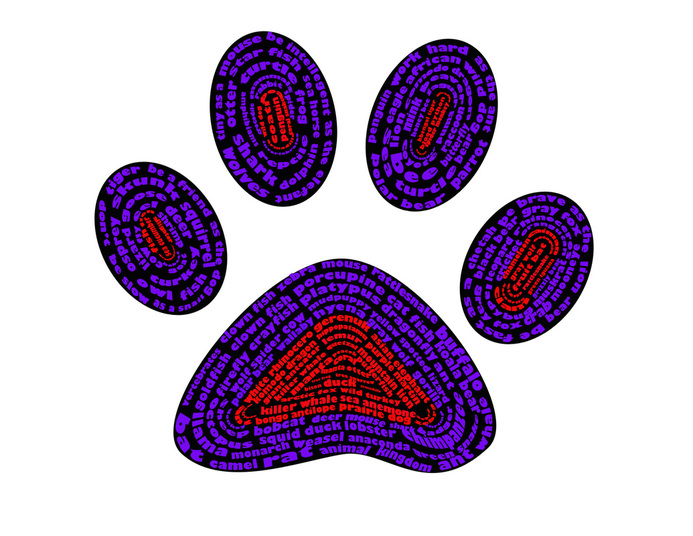

In this project I learned the importance of the size and position of the text, and I also learned how to use the custom shape tool which was the one I used to make my footprint shape which appears black as you can see on the first image. Then resterize my shape so I can put text in it and then I switch to my text tool in which I type name of animals, and I change the size and I warped my text to make it fit in my shape which was challenging. Then I kept fitting in a lot of text until I fill up all my shape and then I turn off my shape layer to leave the text without the shape as you can see on the second image. the shape of footprint without the black shape of custom shape tool. This project help me to manipulate the text tool more than I did the first time and this will help me to use the text tool a little bit faster on future projects.
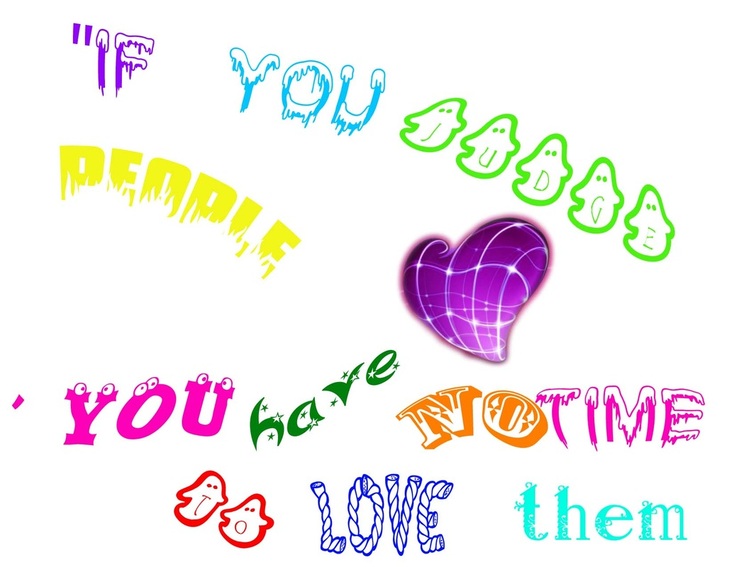
typography project 1
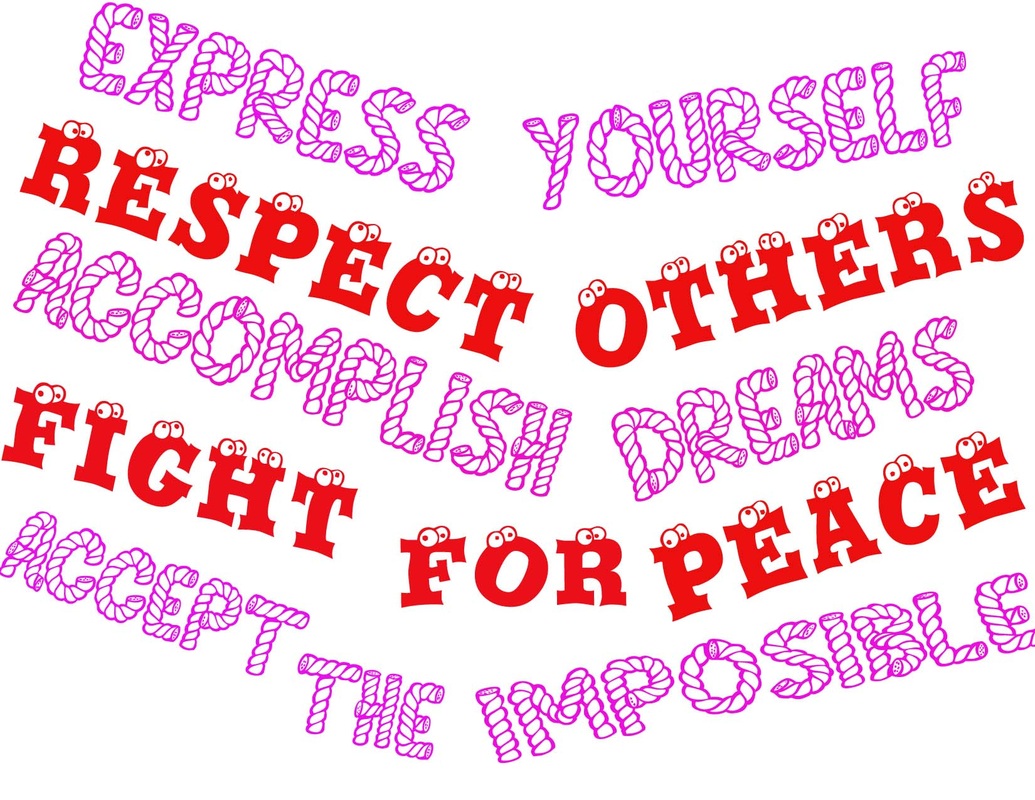
In this project I learned how to download fonts. I learned how to make different kinds of text and how to use the text tool and how to use the correct fonts to make the typography readable. To make that i type the words in different text boxes to move them or rotate a single word and i used to different kinds of fonts to transmit my message to the public. I know this will help to have an idea of how to do other typography projects and the structure i'll have to follow
typography practice
Tool Character Project
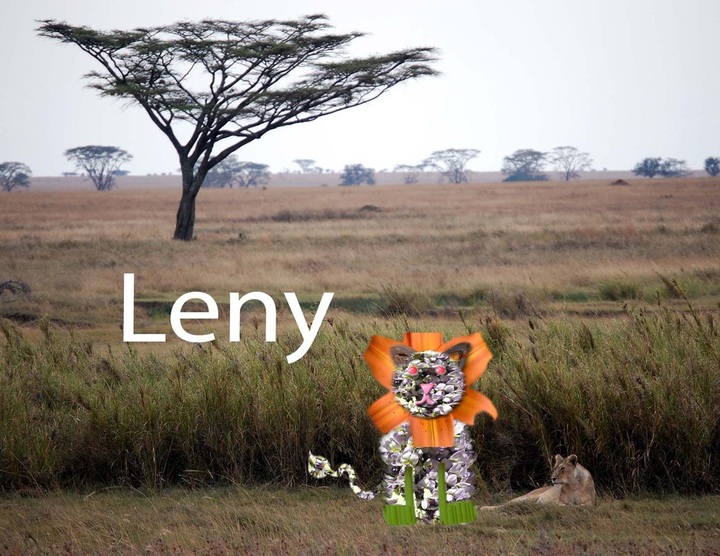
To do my character I firs open a new document. I looked the pictures, and I open the tiger lily image with photoshop. Once in photoshop, I used the quick selection tool to select the flower, and I refined the edges, and I pasted on the new document and made it bigger. Then I used the laurel image ,and I did the same process except that on this image, I used the elliptical tool to make the face of my lion. I used the quick selection tool to make the body of my lion, and I used the lasso tool to make the tail of my lion. Then I selected the berries image, and I did the same process as the tiger lily except that on the berries image, I used the elliptical tool to make the eyes of my lion, and I also used the polygonal lasso tool to make the nose of my lion. Then I selected the tulip image, and repeated the same process as the tiger lily except that on the tulip image I used the lasso tool to make the mouth of my lion, and I also used the quick selection tool to take the green part of the flower. Once I copied, I started to pasted over and over, and I outed in order to make the feet of my lion. And finally I selected the work tools image and I used the quick selection tool to put the ears of my lion. In this project I learned how to use the lasso tool and I learned how to manipulate different parts of different photos to fabricate my own photo.
brush and photo project

first I open a new document then I place my plant on my background then I download the glow brushes and put two on the sides then I download flower brushes and put them on the plant to make it look like the flowers are coming out of the plant and i also place one flower on each corner of my picture and finally I download the butterfly brush and put two big butterflies on the side of mi picture with my glow brush and i also put butterflies all over my picture to make it creative.
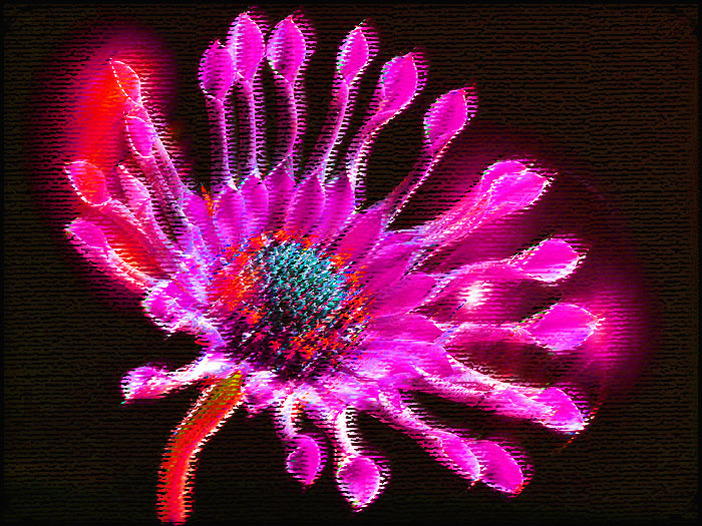
Brush project
To do my brush project I download different kinds of brushses. Like for example the glitter brush which I put on the center, and I also download the butterfly brush which I put on the center of my glitter brush. After that I putted the yellow brush at the bottom with two smoke brushes added to it then I download the spring brush in which I took the flowers on the right of mi picture and the leaves on the left side of mi picture and finally I added a glitter brush on the top of my picture.
car project


On my car project I learned how to use the selection tool to select a certain area that I want to change, and I also learned how to change a part of a photo with an image of an another photo. On photoshop I also learned how to put an object on a different background.
erika barahona selectionproject
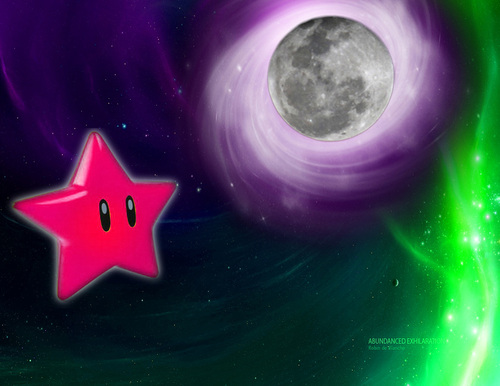
I first place my background then I used the hue and saturation to changes the color of my background. The I open the moon photo then I used the elliptical marquee tool to select only the moon then I refine the edges and pasted on my background and I used command t to make my moon smaller. The i looked for the photo with the star and then I used the magnetic lasso tool to select only the star then I pasted on my background and I used the quick selection tool to select the star and use the hue and saturation to change the star's color and last I found the galaxy photo and I use the elliptical marquee tool to select only the galaxy and I pasted my galaxy on my background and then i put the slide in order to place my moon over my galaxy.
photoshop practice
online Photo Assignment


I use different types of online editors to edit my pictures. For example on my first picture I used an online editor to add the photograph border. I learned how to put different kinds of animation to put on my photos ,and I also learned how to use different kinds of online editors like to use their tools and how to saved my photos on my computer.
